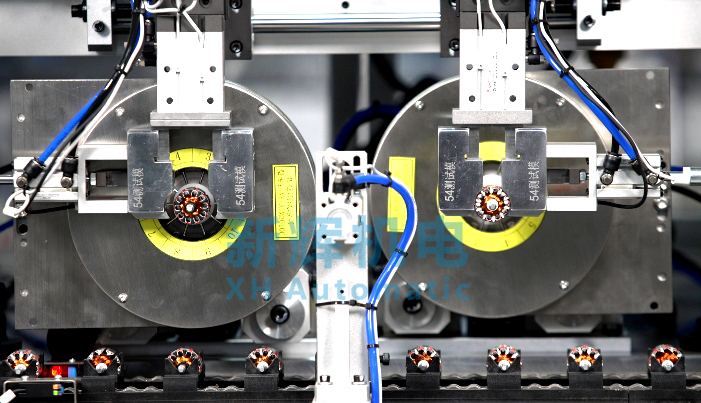
What are the common electrical faults and solutions for motor motor rotor duplex tester?
Motor motor rotor duplex tester common electrical faults and solutions:
First, the power supply failure
l Failure phenomenon
The tester can not be turned on, the power indicator does not light up.
Sudden power failure during the work process, the equipment stops running.
l Possible causes
External power supply problem: the plug is not plugged in tightly, the power cord is damaged or the power socket is faulty, resulting in the device can not get normal power supply.
Internal power module failure: the fuse in the power module is blown, the transformer is damaged, the rectifier circuit is faulty or the filter capacitor is invalid, which affects the normal output of the power supply.
Damaged power switch: Poor contact or internal disconnection of the power switch prevents the power supply from turning on.
l Solution
Check whether the plug is tightly inserted, replace the damaged power cord and try to replace the power socket.
Open the device case and check the power module. If the fuse is blown, check whether there is a short circuit first, and replace the fuse with the same specification after eliminating it. For transformer, rectifier circuit or filter capacitor failure, you need to use a multimeter and other tools to detect, determine the damaged components and then replace them.
Use a multimeter to check the conductivity of the power switch, if damaged, should be replaced with a new power switch.
Second, the test circuit failure
l Failure phenomenon
Inaccurate test data, such as resistance, inductance, voltage and other parameters of the measured value and the actual value of the deviation is large.
Test function failure, can not carry out a particular test, such as insulation resistance test no results.
Test signal is not stable, test data jumps or fluctuates frequently.
l Possible reasons
Damage to the test probe: the contact part of the probe is worn, oxidized or the internal circuit is broken, affecting the signal transmission and measurement accuracy.
Components in the test circuit are damaged: such as resistors, capacitors, inductors, amplifiers, comparators and other components are faulty, resulting in the degradation of the performance of the test circuit.
Poor connection of the circuit board: Loose solder joints on the circuit board, loose rows of plugs or broken printed lines block the signal transmission of the test circuit.
Electromagnetic interference: Electromagnetic interference generated by other electrical equipment around the device, affecting the stability and accuracy of the test signal.
l Solution
Check the test probes, clean or replace worn, oxidized probes. If the internal wiring of the probe is damaged, the probe needs to be repaired or replaced.
Use multimeters, oscilloscopes and other tools to test the components in the test circuit one by one, determine the damaged components, and then replace the components of the same type.
Check the connection of the circuit board, re-solder the loose solder joints and insert the row of plugs tightly. For the case of broken printed lines, line repair or replacement of the circuit board is required.
Take electromagnetic shielding measures, such as the use of shielded wires connected to the test circuit, the installation of shielding for the equipment, or equipment away from the source of interference.
Third, the sensor failure
l Failure phenomenon
Sensor no signal output, resulting in the tester can not get the relevant test parameters, such as temperature sensor no output, can not monitor the temperature during the test.
Sensor signal abnormality, the output signal does not match the actual physical quantities, such as speed sensor output speed value and the actual motor rotor speed is inconsistent.
Sensor work is unstable, the signal is sporadic or fluctuates greatly.
l Possible reasons
Sensor damage: due to long-term use, overload, physical impact or environmental factors (such as humidity, high temperature) resulting in damage to the internal components of the sensor.
Sensor signal line problem: signal line break, short circuit, poor contact or electromagnetic interference, affecting the normal transmission of the signal.
Sensor power supply abnormalities: the sensor's power supply voltage is unstable or power supply line failure, resulting in the sensor can not work properly.
l Solution
Replace the damaged sensor, ensure that the model and parameters of the new sensor are consistent with the original sensor, and follow the correct installation and calibration methods.
Check the sensor signal line, repair or replace the damaged line, make sure the signal line is firmly connected. Use shielded wires or increase the filtering circuit to reduce electromagnetic interference.
Check the power supply line of the sensor and measure whether the power supply voltage is normal. If the supply voltage is abnormal, check the power module and power supply circuit, repair the fault and restore normal power supply.
Fourth, the controller failure
l Failure phenomenon
The tester can not be tested according to the preset program and parameters, such as test sequence confusion, test time control error.
Controller display failure, such as black screen, garbled or incomplete display content.
The controller crashes or restarts, affecting the continuity and stability of the test.
l Possible causes
Controller program error: the program may be due to virus infection, software conflict, misoperation or memory chip failure and error or loss.
Controller hardware failure: internal chips, capacitors, resistors and other components are damaged, resulting in the controller can not work properly.
Communication failure: Problems in the communication line or communication protocol between the controller and other devices (such as the host computer, printer, etc.) affect data transmission and command reception.
l Solution
Try to perform a reset operation on the controller to restore the factory settings. If the program is lost, contact the device manufacturer to obtain the correct program version and reprogram or update the software. Meanwhile, install antivirus software to avoid virus infection.
Check the hardware components of the controller for obvious signs of damage, such as bulging capacitors and burnt chips. For damaged components, professional maintenance personnel are required to replace them.
Check the communication line to ensure that the connection is firm and the communication protocol is set correctly. Use the communication test tool to check whether the communication is normal, if there is any problem, adjust the communication parameters or replace the communication line.
※ If you still can't solve the problem by the above ways and means, please contact the technical specialist of Xinhui Mechanical & Electrical Equipment Co.